Equipment Down? Use This Universal Repair Checklist Before You Pay for Service
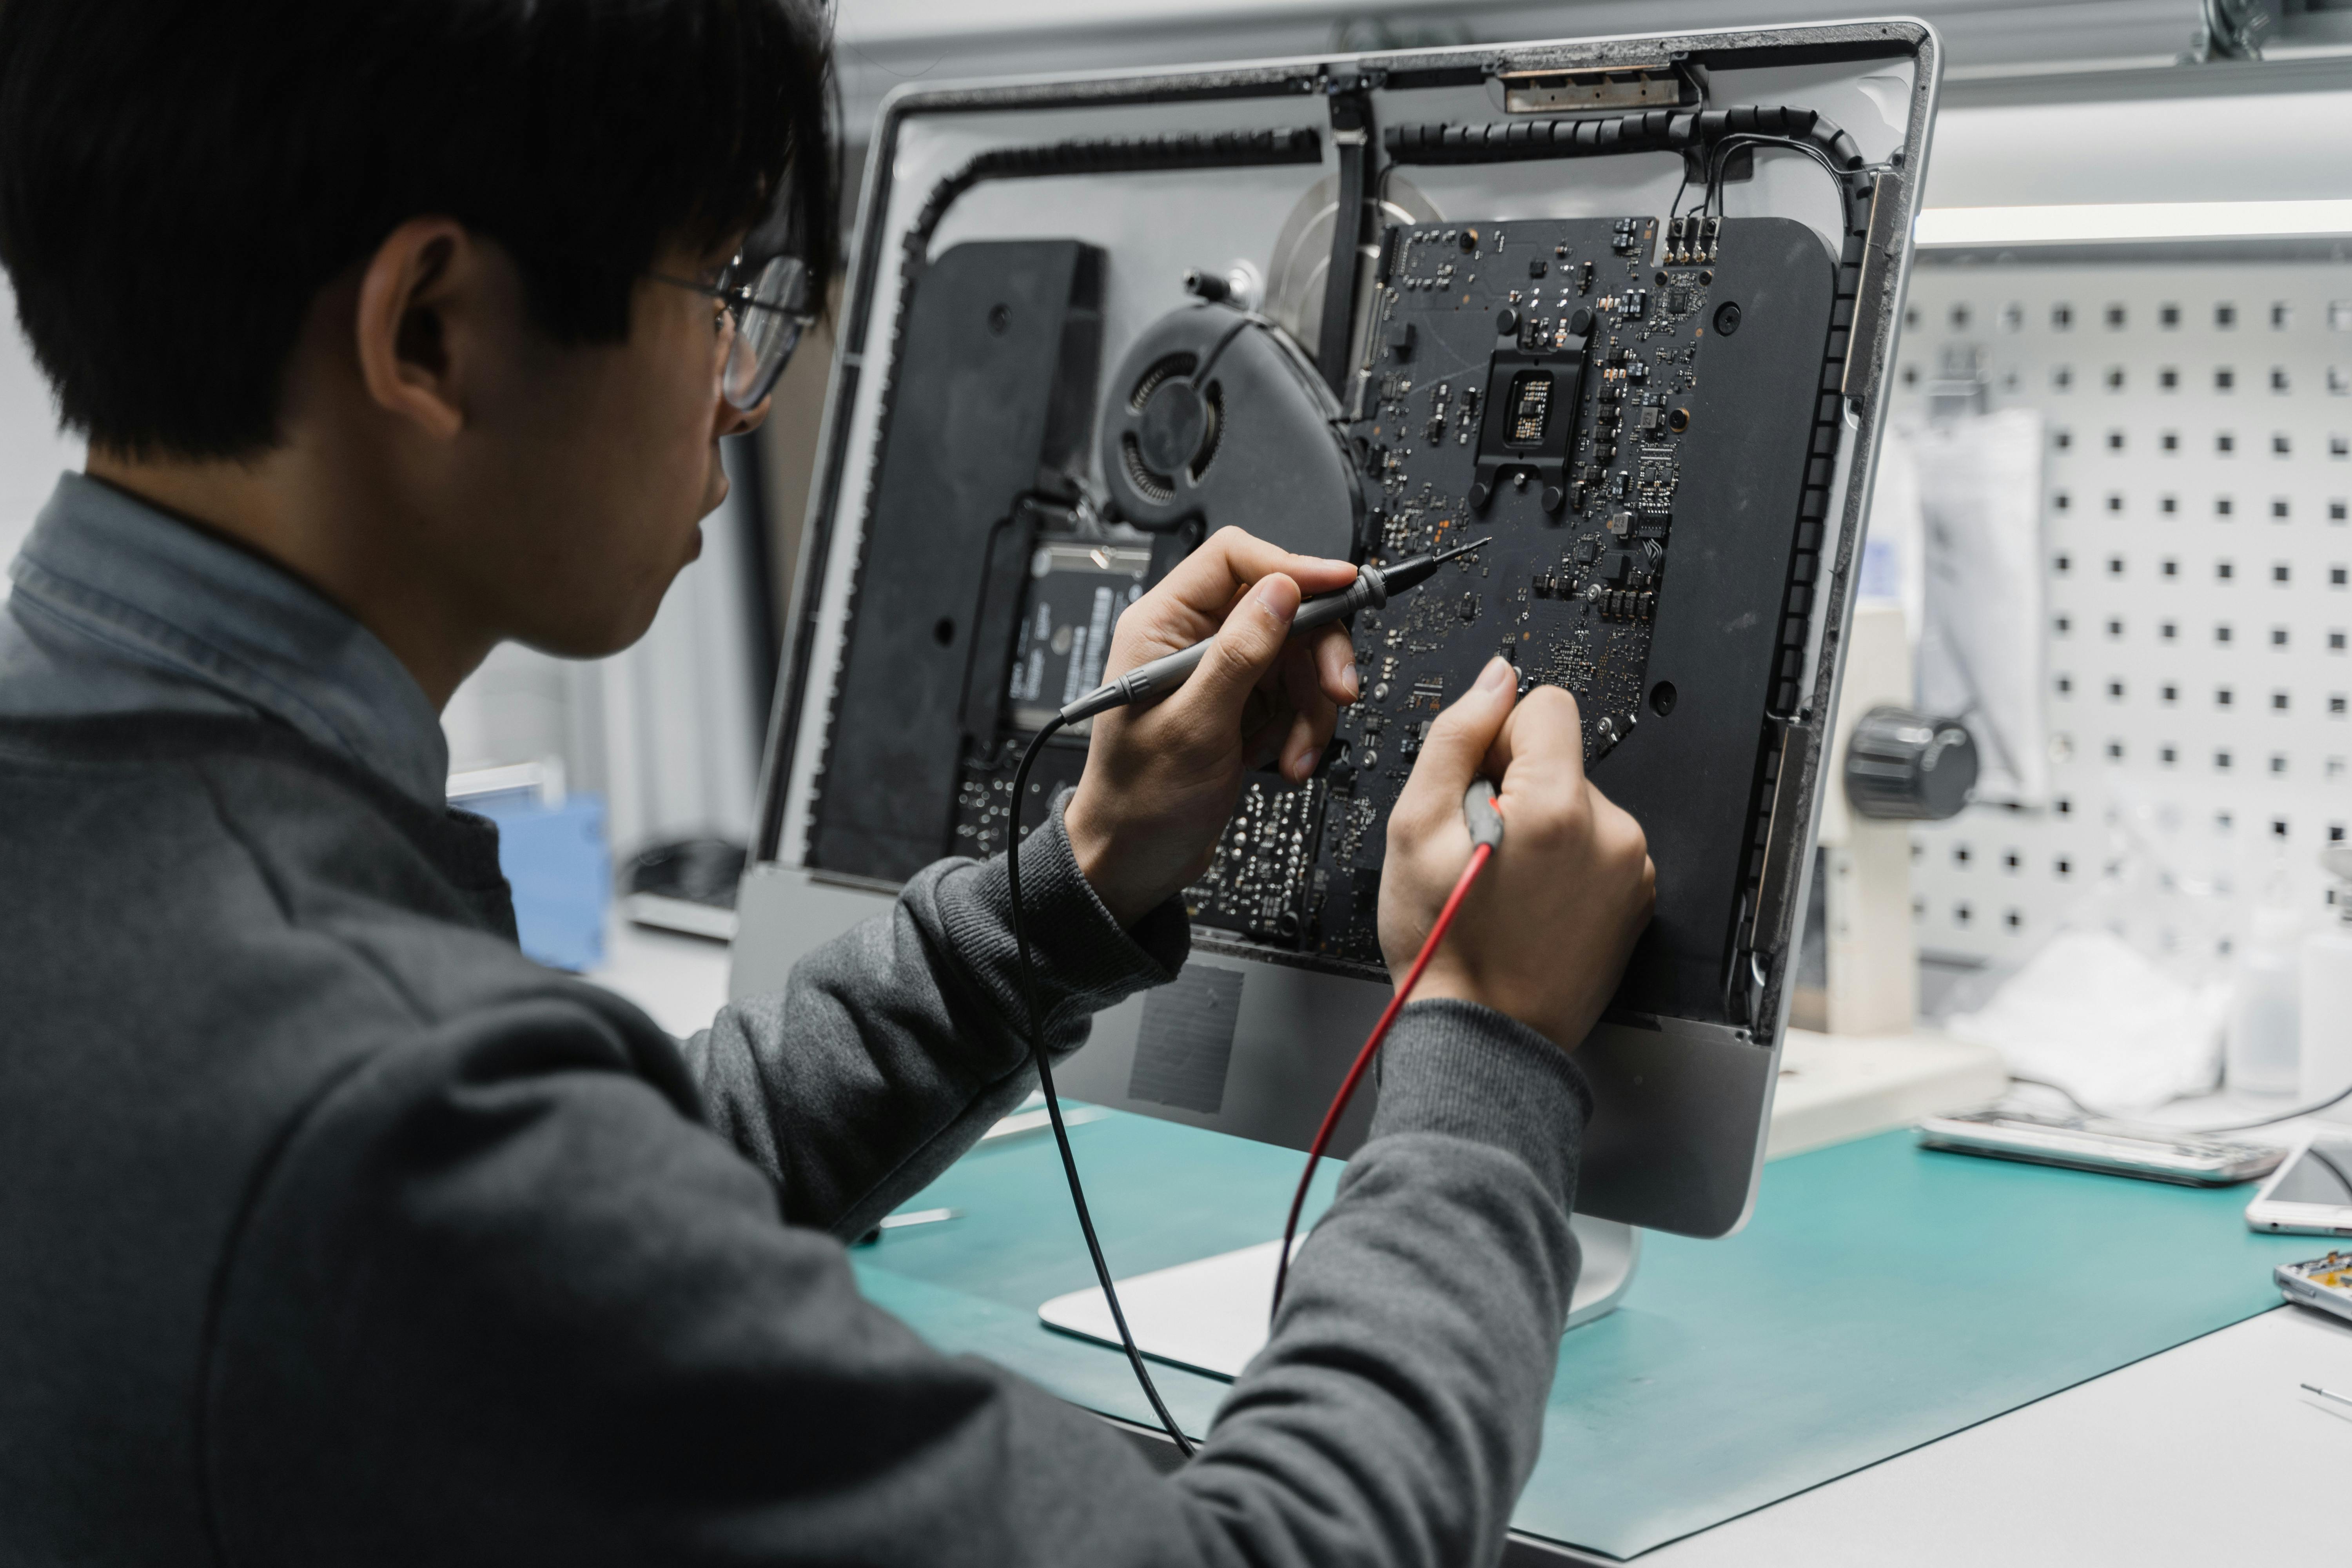
Last updated: September 15, 2026
⚠️ Scope and Disclaimer: This article is written for clinical engineering teams and equipment managers who triage medical equipment downtime before escalating to a service provider. It does not constitute repair instructions for any specific platform. Any work inside an energized chassis, or on a system connected to a patient, must be performed by qualified biomedical engineers following the OEM service manual and your facility's electrical safety protocol (leakage current <100 µA in normal condition before the device returns to clinical use). Cost and labor figures cited are industry estimates and vary by region, supplier, and unit condition.
A scanner goes down at 09:40. By 09:55 someone has called the service line, and by 10:10 a purchase order number exists for a repair nobody has diagnosed yet.
That sequence is the most common way a facility converts a two-hour fault into a two-week invoice. The alternative is not heroics — it is fifteen minutes of disciplined triage that either fixes the problem outright or tells you exactly what you are buying.
⚠️ Watch Out: "Equipment down" is a description of the symptom, not of the fault. The reason triage pays for itself is that a large share of downtime events trace back to causes that never required a service call at all — a tripped breaker, a partially seated connector, a clogged filter, a device on a shared circuit with a compressor. You cannot know which category you are in until you look.
This checklist is the one we walk clinical engineering teams through before they authorize service on imaging equipment. It is written around ultrasound consoles because that is where we see it used most, but the sequence applies to any capital medical device with a power path, a signal path, and a log.
What follows covers the full triage chain:
- Step 1: Scene inspection — what is visible before you power anything, and why the burn mark you find changes the whole diagnosis
- Step 2: Power path first — the four fault classes that masquerade as board failure, and how to rule them out in under five minutes
- Step 3: Work both ends toward the middle — signal injection, loopback, and how to stop guessing which end is at fault
- Step 4: The triage kit — the five tools that make the first hour count, and the two that are a waste of money
- Then: Where in-house triage stops — the point at which the question changes from "what is broken" to "what do I buy," and how to answer it
- Finally: The triage log — how to turn a single repair into a downtime trend you can act on before the next failure
Why Fifteen Minutes of Triage Changes the Invoice
A service call has a fixed structure: dispatch, travel, minimum billable hours, diagnosis, parts markup, and a return visit if the part was wrong. Every one of those line items shrinks when you can tell the provider three things — what you measured, what you ruled out, and what you suspect.
Our view, after handling component sourcing for imaging equipment across a wide range of facilities, is that the diagnosis is the expensive part and the part is the cheap part. A two-hour fault that gets misdiagnosed as a board failure costs a board, a service visit, and the clinical hours lost while the room sits idle. The same fault, correctly triaged, frequently costs a connector reseat and a filter change.
💡 Expert Insight: The strongest predictor of whether a downtime event becomes expensive is not the failure itself — it is how quickly someone writes down a measurable symptom. "It's broken" produces a dispatch. "It boots, passes self-check, and drops a frame during Doppler after roughly two hours of scanning" produces a diagnosis. The second version is worth several hundred dollars in avoided labor before anyone touches the machine.
The checklist below is ordered deliberately: cheapest and safest first, invasive last. Resist the urge to reorder it. Most misdiagnoses happen because someone skipped the visual pass and went straight to the boards.
If the question you are actually facing is whether to repair or exchange a component once you know what failed, that decision has its own framework — see service exchange versus component repair in medical equipment. Triage comes first; that article picks up where this one stops.
Step 1 — Inspect the Scene Before You Power Anything
The first pass happens with the device off and unplugged. It costs nothing, requires no tools, and occasionally ends the investigation on the spot.
What You Are Looking For
| Check | What It Looks Like | What It Usually Means |
|---|---|---|
| Connections | Loose cable, partially inserted plug, discolored or scorched terminal | Vibration, thermal cycling, or a previous repair that was not fully seated |
| Components | Bulging capacitors, discolored board areas, darkening around a connector | Overheating has already occurred; assume adjacent components are stressed |
| Odor and residue | Burnt smell, carbon tracking, sticky residue near a connector | A burn event or liquid ingress — stop and escalate, do not re-energize |
| Environment | Dust-blocked vents, filters matted with lint, unit pushed against a wall | Restricted airflow; internal temperatures have been running above design |
| Fluids and moisture | Condensation, gel residue, spills near the chassis base | Liquid path into the electronics; treat as a contamination event, not a fault |
| Site conditions | Device on a circuit shared with HVAC, compressors, or other imaging equipment | Mains sags that correlate with building activity — the fault may be upstream of the device |
Two of these findings change your next move entirely. A visible burn mark means the failure is no longer a triage question — something dissipated enough energy to carbonize a board, and the correct action is to stop, document, and involve a qualified repair resource. The TR192 burn-through pattern on Samsung H60 systems is a good illustration of how a single stressed component becomes a multi-board repair when a burned assembly is re-energized without investigating why it burned.
A shared circuit means the fault may not belong to your device at all. Move it to a known-good circuit and repeat the symptom before spending anything.
⚠️ Watch Out: Do not clean a suspect board with solvent and re-energize it to "see if it comes back." If the odor or residue is present, the failure mode is contamination or arcing — and the next power-up is when collateral damage happens. Photograph it, log it, and treat it as evidence.
Step 2 — Power Path First, Because It Mimics Everything Else
Once you have confirmed the scene is safe, test the power path before you suspect a functional board. This ordering is not a preference; it reflects how failures actually present. Power-path faults rarely announce themselves. They surface as symptoms in whatever subsystem is most sensitive to rail margin on that day — the panel, the display, the receive chain, or the log.
The Four Fault Classes That Look Like Board Failure
- Mains and distribution. Confirm the breaker, the outlet, and any UPS or isolation transformer. A UPS with aged batteries passes a static check and sags under load — which produces exactly the intermittent, load-correlated symptoms people attribute to a failing board. Verify the UPS under load, not at idle.
- Bulk supply output. Measure the supply's DC output at the point where it feeds the rest of the system. If it is out of tolerance, everything downstream is suspect and nothing downstream is proven faulty.
- Regulation and distribution. A rail that reads a clean 3.30 V at idle can sit at 3.05 V when the system pulls its working current. Static measurement will not catch this — see the load-dependent failure mechanisms in why systems pass idle self-checks and fail during long sessions.
- Connectors and harnesses. Contact resistance rises at thermal expansion and falls again when the unit cools. This is the physical mechanism behind "it works fine in the morning," and it is the single most common finding in triage that gets misrecorded as an intermittent board fault.
💡 Expert Insight: The instruction "check the power supply" is too vague to be useful. What you are actually doing is establishing whether the fault is upstream or downstream of a measurement point. Pick a rail, measure it under real load, and write the number down. That single data point either eliminates three of the four classes above or tells you to stop looking at boards entirely.
For a component-level treatment of how these supplies fail — capacitor ageing, ripple, protection-circuit behaviour — see common causes of power supply failure in medical ultrasound systems. And when a supply is delivering correct voltage but the system still misbehaves, the next thing to suspect is drift rather than failure: power regulation drift producing symptoms that do not look like power problems covers that pattern, including the diagnostics that unmask it.
Step 3 — Work Both Ends Toward the Middle
When power checks are clean, the question becomes which end of the signal chain owns the fault: the field device, the transmission path, or the acquisition side. Guessing here is what produces the two-visit repair.
The disciplined method is controlled isolation — divide the channel into sections and test each with intent, working inward from both ends rather than sequentially from one.
Signal Injection: Test the Acquisition Side Directly
Rather than disassembling a suspect module, inject a known-good signal at the terminal and see whether the system reads it.
- System reads correctly → the acquisition side is proven good. The fault is upstream: field wiring, sensor, or connector.
- System still reads nothing → the acquisition channel itself is now the primary suspect, and you have earned that conclusion with a measurement rather than an assumption.
One injection test replaces an entire afternoon of module swapping. The industrial-automation version of this technique, including loopback testing on serial links and the ground-loop causes behind drifting readings, is covered in diagnosing channel failures in industrial equipment — the isolation logic transfers directly to imaging hardware.
Loopback: Separate the Link from the Logic
For any serial or differential link, short the transmit and receive sides locally and check whether the system can talk to itself. If loopback passes, the link and its configuration are sound and the fault is at one of the endpoints. If loopback fails, you have found a link-layer problem and no amount of endpoint work will resolve it.
Rule Out the Display Before You Blame It
Visual symptoms are the most over-diagnosed category in imaging service, because the screen is the part people can see. Before accepting that a monitor has failed, mirror the video output to an external display.
| External Display Shows | Reading | Next Step |
|---|---|---|
| Clean image | The panel is at fault; the video source is healthy | Price a display, not a graphics board |
| Same artifacts | The fault is upstream of the panel — video source, cable, or rail | Audit the video rails and cable impedance, not the panel |
Artifacts that originate in the power path rather than the panel have a characteristic appearance — rolling bands, colour fringing, pixel jitter that tracks load. Display artifacts that begin with power instability walks through the ripple and common-mode mechanisms behind that signature and the measurements that prove the screen is healthy.
Step 4 — The Triage Kit That Makes the First Hour Count
Triage is only as fast as the tools within reach. The point of a dedicated kit is not capability — it is eliminating the twenty-minute search that turns a fifteen-minute triage into a forty-minute one.
| Tool | What It Answers | Priority |
|---|---|---|
| Digital multimeter | Is the rail present, in tolerance, and stable? The first measurement of every triage | Essential |
| Anti-static wrist strap and mat | Protects boards once you open the chassis | Essential |
| Clamp or inline current probe | Is the device drawing more current than its spec, and at what point in the cycle? | High |
| Infrared thermal imager | Where is heat concentrating? Finds stressed joints and marginal components while the unit is running | High |
| Isopropyl alcohol and lint-free swabs | Removes oxidation and residue from contacts — the cheapest fix in the kit | High |
| Oscilloscope with AC coupling | Is there ripple on the rail? The only way to see noise a multimeter averages away | Deferred |
| ESR meter | Are the filter capacitors still doing their job? | Deferred |
The last two are genuinely useful and genuinely not first-purchase items. An oscilloscope and an ESR meter earn their place once your team is doing board-level diagnosis regularly; for occasional triage, the multimeter and thermal imager answer most of the questions that decide whether you escalate.
💡 Expert Insight: The thermal imager is the most underrated tool in this table. It works while the device is running under real load, which is precisely when load-dependent faults are visible and when a multimeter reading is most misleading. A joint running 15 °C hotter than its neighbours is a finding you can hand to a supplier as evidence — and it takes about ninety seconds to capture.
Platform-specific procedures and rail specifications belong in the OEM documentation, not in a generic checklist. geprobe maintains a library of field service manuals for common imaging platforms, and our ultrasound equipment repair guide covers repair approaches by subsystem.
Where In-House Triage Stops and a Parts Decision Begins
Triage has a natural endpoint, and recognising it is what keeps the process cheap. It is the moment when further investigation starts consuming more resource than the part would cost — or when the evidence you have is already sufficient to order.
That endpoint arrives under three conditions:
- The fault is reproduced and localized to a replaceable assembly. You are no longer diagnosing; you are sourcing. Additional testing adds confidence but not information.
- The fault is intermittent and load-correlated, and you have logged it. Further triage will not make an intermittent fault more reproducible. A pattern with timestamps is stronger evidence than another clean test result.
- The next diagnostic step requires equipment or authorization you do not have. Board-level repair, high-voltage work, or anything requiring the OEM's diagnostic software belongs to a different resource tier.
Past that point, the decision is a procurement decision, and it has three candidates: repair the assembly, exchange it, or replace it. The cost comparison is rarely what it appears, because the expensive variable is not the part price — it is the downtime carried while the decision is deferred.
The Deferred-Decision Cost
| Path | Up-Front Cost | Hidden Cost | Clinical Exposure |
|---|---|---|---|
| Triage, then order on first reproducible evidence | One diagnosis, one part, one installation | Lowest — a single maintenance window | Lowest: verified under load before return to service |
| Triage, then monitor and re-test each week | One diagnosis, repeated testing | Engineer hours accumulate; the device runs degraded | Moderate: the fault is present and unaddressed during clinical hours |
| Escalate to emergency service at failure | Emergency labor rates, expedited freight | Collateral damage risk if the failure event propagates | Highest: failures cluster at peak load, which is peak patient load |
The middle row is the most common and the worst value — it pays the diagnostic cost repeatedly while retaining most of the clinical exposure. If triage has produced a reproducible, load-correlated fault signature, monitoring does not improve the outcome; it only delays it.
⚠️ Watch Out: "The fault cleared after reboot — monitoring" is the most expensive sentence in a service log, because a reboot removes the thermal and load conditions that produced the fault without changing the degradation that caused it. The log entry reads like a resolution, so the case gets closed. See the full argument in the hidden cost of partial diagnostics in load-dependent failures.
The Triage Log: Turning One Repair into a Trend
The final step is the one most facilities skip: writing the triage result down in a form that is comparable across events.
A repair log that records "replaced board, system working" has no analytical value. A log that records symptom, operating duration at onset, measurement, action, and outcome becomes a predictive dataset. After two or three entries on the same platform, patterns emerge that no single event reveals — a device whose faults all appear after four hours of scanning, a room whose failures all cluster in the afternoon, a component family that keeps appearing across different units.
For how those patterns translate into a scheduled maintenance program, see this four-year review of predictive maintenance and ultrasound failures. The broader framework — service life, replacement planning, and when a platform stops being worth maintaining — is covered in the medical ultrasound life cycle management guide.
Three habits are worth building into the routine:
- Log the duration, not the clock time. "Failed after 2 h 40 m of scanning" is comparable across events. "Failed at 14:20" is not.
- Record the measurement, including the ones that were normal. A documented normal reading at a specific test point is what lets the next engineer skip that branch entirely.
- Keep the escalation decision in the log. If the team decided to monitor rather than order, record why. That decision is the one most often revisited, and the reasoning is the part that gets lost.
Key Takeaways
Triage first, dispatch second. A service call has a fixed cost structure — dispatch, minimum hours, parts markup, possible return visit — and every line of it shrinks when you can state what you measured and what you ruled out. The diagnosis is the expensive part of downtime, not the component.
Order the checks cheapest-first and do not reorder them. Visual pass with the unit unplugged, power path under real load, signal isolation from both ends, and only then board-level suspicion. Most misdiagnoses are the result of starting in the middle of that list.
Power-path faults present as subsystem faults. They surface through whichever board is most sensitive to rail margin that day. Establish whether the fault is upstream or downstream of a measurement point before you order anything — and remember that a rail which reads clean at idle can be out of tolerance under working load.
Recognize the endpoint. Triage stops when the fault is localized to a replaceable assembly, when further work will not improve reproducibility, or when the next step needs resources you do not have. Past that point, more testing buys confidence rather than information — and monitoring a reproduced fault mainly delays the outcome.
Write down what you found, in comparable terms. Symptom, operating duration, measurement, action, outcome. Two or three entries on the same platform turn a series of incidents into a maintenance plan.
If triage has localized a fault to a replaceable assembly and you need to know what it costs and how fast it can ship, geprobe quotes component pricing on imaging equipment typically within 6 hours, with global shipping from warehouse stock. Send the platform model, the serial number, and — this is the part most inquiries omit — the measurement and operating duration that led you to the suspect part. That detail is what lets a supplier confirm compatibility instead of guessing at it. Contact geprobe with your triage notes and we will confirm fitment and delivery before you commit to a maintenance window.
Series articles:
- Related: Why Ultrasound Systems That Pass Idle Self-Checks Still Fail During Long Scan Sessions
- Related: Strategic Maintenance Decisions: Service Exchange vs. Component Repair in Medical Equipment
- Related: Why the TR192 Board in Samsung H60 Systems Burns Through So Easily
- Related: An Engineer's Field Notes: Troubleshooting a GE LOGIQ 7 Boot Loop Failure
- Related: Intermittent Ultrasound Faults: Why "Works Fine, Then Doesn't" Is Hard to Fix
Related Articles
Intermittent Ultrasound Faults: Why "Works Fine, Then Doesn't" Is Hard to Fix
Intermittent ultrasound faults are the hardest to diagnose. A field-tested method for reproducing, isolating, and safely returning the system to service.
Why Console Navigation That Gets Worse With Use Often Exposes Panel-Control Weakness Earlier Than A Hard Failure
Console navigation worsening with use? Learn to diagnose panel control board failure and make the right procurement decision—before someone suggests replacing the whole system.
Why A Drifting Keyboard Cluster Usually Points To The Shared Input Path, Not Five Bad Keys
Keyboard keys failing in groups point to a shared input path problem, not bad switches. Learn when a keyboard assembly purchase beats chasing individual keycaps.